Remove the End Caps

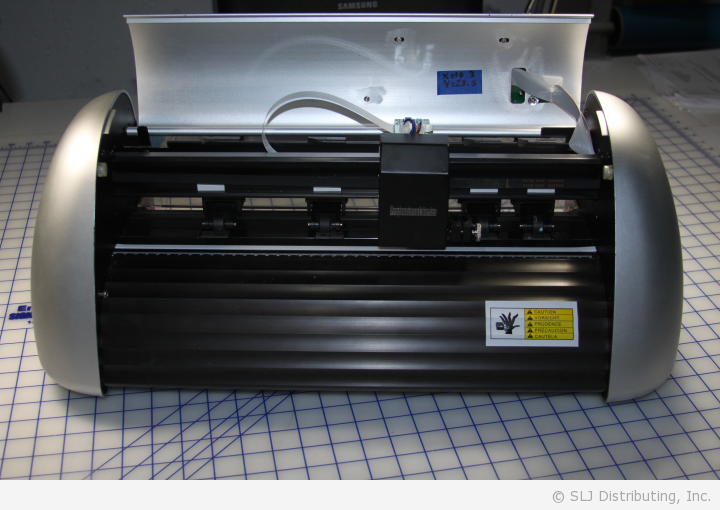
Remove the four screws on the left and the four screws on the right in order to remove the end caps.
Remove the Bottom Panel

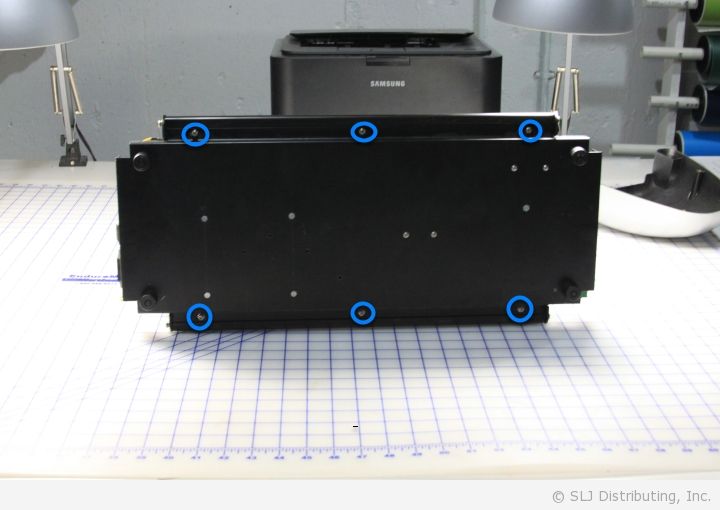
Remove the screws around the perimeter. The number of screws will vary with the size of the machine.
NOTE: When reattaching screws, start threading every other screw and do not tighten them all the way. Once ALL the screws have been started, you can tighten them down.

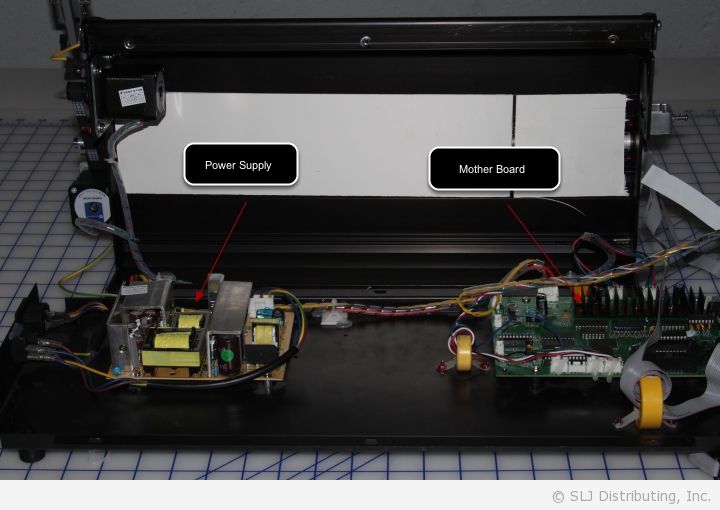
Bring the bottom panel forward carefully to expose the power supply and mother board.
NOTE: 24 inch machines will also have a fan.
Replace the Mother Board

Carefully, remove all the glue holding the connectors and disconnect the cables. Keep a note as to where each cable attached.
Remove the 5 screws holding the old motherboard. Swap out the old one with the new.
Screw the screws back in and make sure the cables are reattached to the new motherboard in the same way they were attached previously.
NOTE: You do not need to reapply any glue to the connectors. It was only placed to secure the cabling during shipping from the manufacturer.
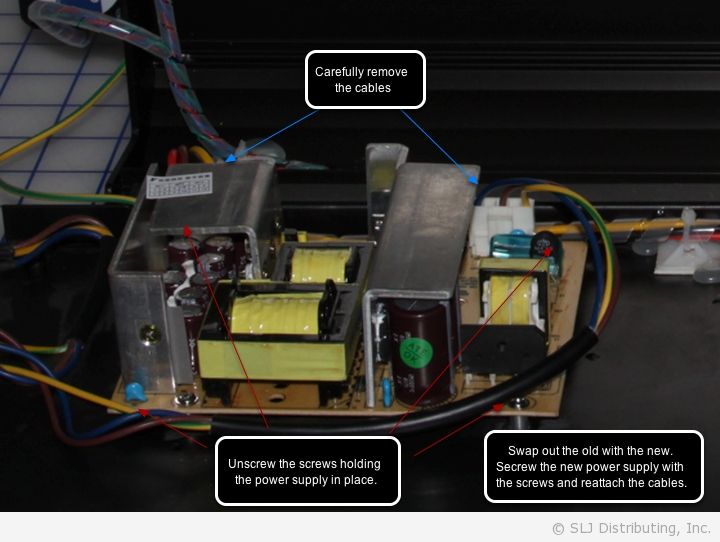
Replace the Power Supply

Put It Back Together

Put the machine back together in the order it was disassembled.

